Set up workflowsPublic preview
Learn how to set up workflows in the Dashboard.
Learn how to create a workflow to set up an automated task in response to events in the Dashboard.
Before you begin
- You can run up to six active workflows at a time.
- Create a sandbox to test creating and running workflows. This allows you to experiment with new features, troubleshoot, and fix issues without impacting any live operations.
- If you haven’t already, review Workflows.
Create a workflow
Navigate to Workflows in the Dashboard.
Click New workflow to open the Workflow Editor.
Click Untitled workflow, and enter a name for the workflow.
Click Add a trigger.
- Each workflow can only have one trigger.
- A trigger is any public Stripe API event you can use to start your workflow.
- You can search, or choose from one of the suggested triggers. You can also browse by category to narrow down the options.
After you choose a trigger, you can further specify when you want your workflow to run by adding a condition.
- List conditions evaluate up to 100 items. For example, When setting up conditions on a field containing a list of items, the workflow only evaluates the first 100 items to determine whether the condition is met. We don’t evaluate any items beyond the limit.
- Your workflow only runs if the trigger conditions are true.
Click Add a step. You can select either an action or a condition.
- Each workflow can support up to 12 steps.
- Dynamic values are pulled from a specific step, which might become outdated if the object changes after that step is run or an event is triggered. However, each action is run using the object’s current, most up-to-date version.
Next, configure the action by adding values to the parameters. You must fill in all required fields for the workflow to run. These properties are marked as Required.
Add additional steps as needed.
Click Activate.
For example workflows you can create, see Use-cases
Test a workflow
After you save and activate your workflow, test your workflow. You need to test the trigger, trigger conditions (if applicable), and the sequential steps you applied.
For example, to test a workflow that triggers whenever a new customer is created:
Observe a workflow
After triggering the workflow, check its run details:
Navigate to Workflows in the Dashboard.
Click the applicable workflow.
Under Recent runs, view the most recent run entry that represents the test workflow you created and triggered.
- If the workflow ran successfully, the status displays a Succeeded badge.
- If the workflow failed, the status displays a Failed badge.
Click the run to see the details of each step run by the workflow. If you click a step, you can also click Inspect in Workbench to see developer-focused Workbench logs generated from the actions taken in the workflow.
- Workbench is available for trigger events, allowing you to navigate directly to the event tab in Workbench, and for actions where you can access the applicable request log.
- This isn’t available for Workflows-specific steps such as sending emails or evaluating conditions including branching.
In the Run history view, click the overflow menu () > Inspect resource to explore a JSON view of the object that triggered the workflow using Workbench.
Failed workflows
If the workflow fails:
In the Run history view, click the steps that failed to see the error message.
Use the error messages to fix the steps. You can also click Inspect in Workbench to see developer-focused Workbench logs generated by the workflow.
Click Retry run to directly re-trigger the workflow using the same trigger data.
- You can only retry runs on workflows that are active.
- You can rerun a workflow using its original event data for up to 30 days after the initial trigger was met.
Verify if the rerun successfully completes (if the rerun starts from the initial trigger and proceeds through all steps in the workflow).
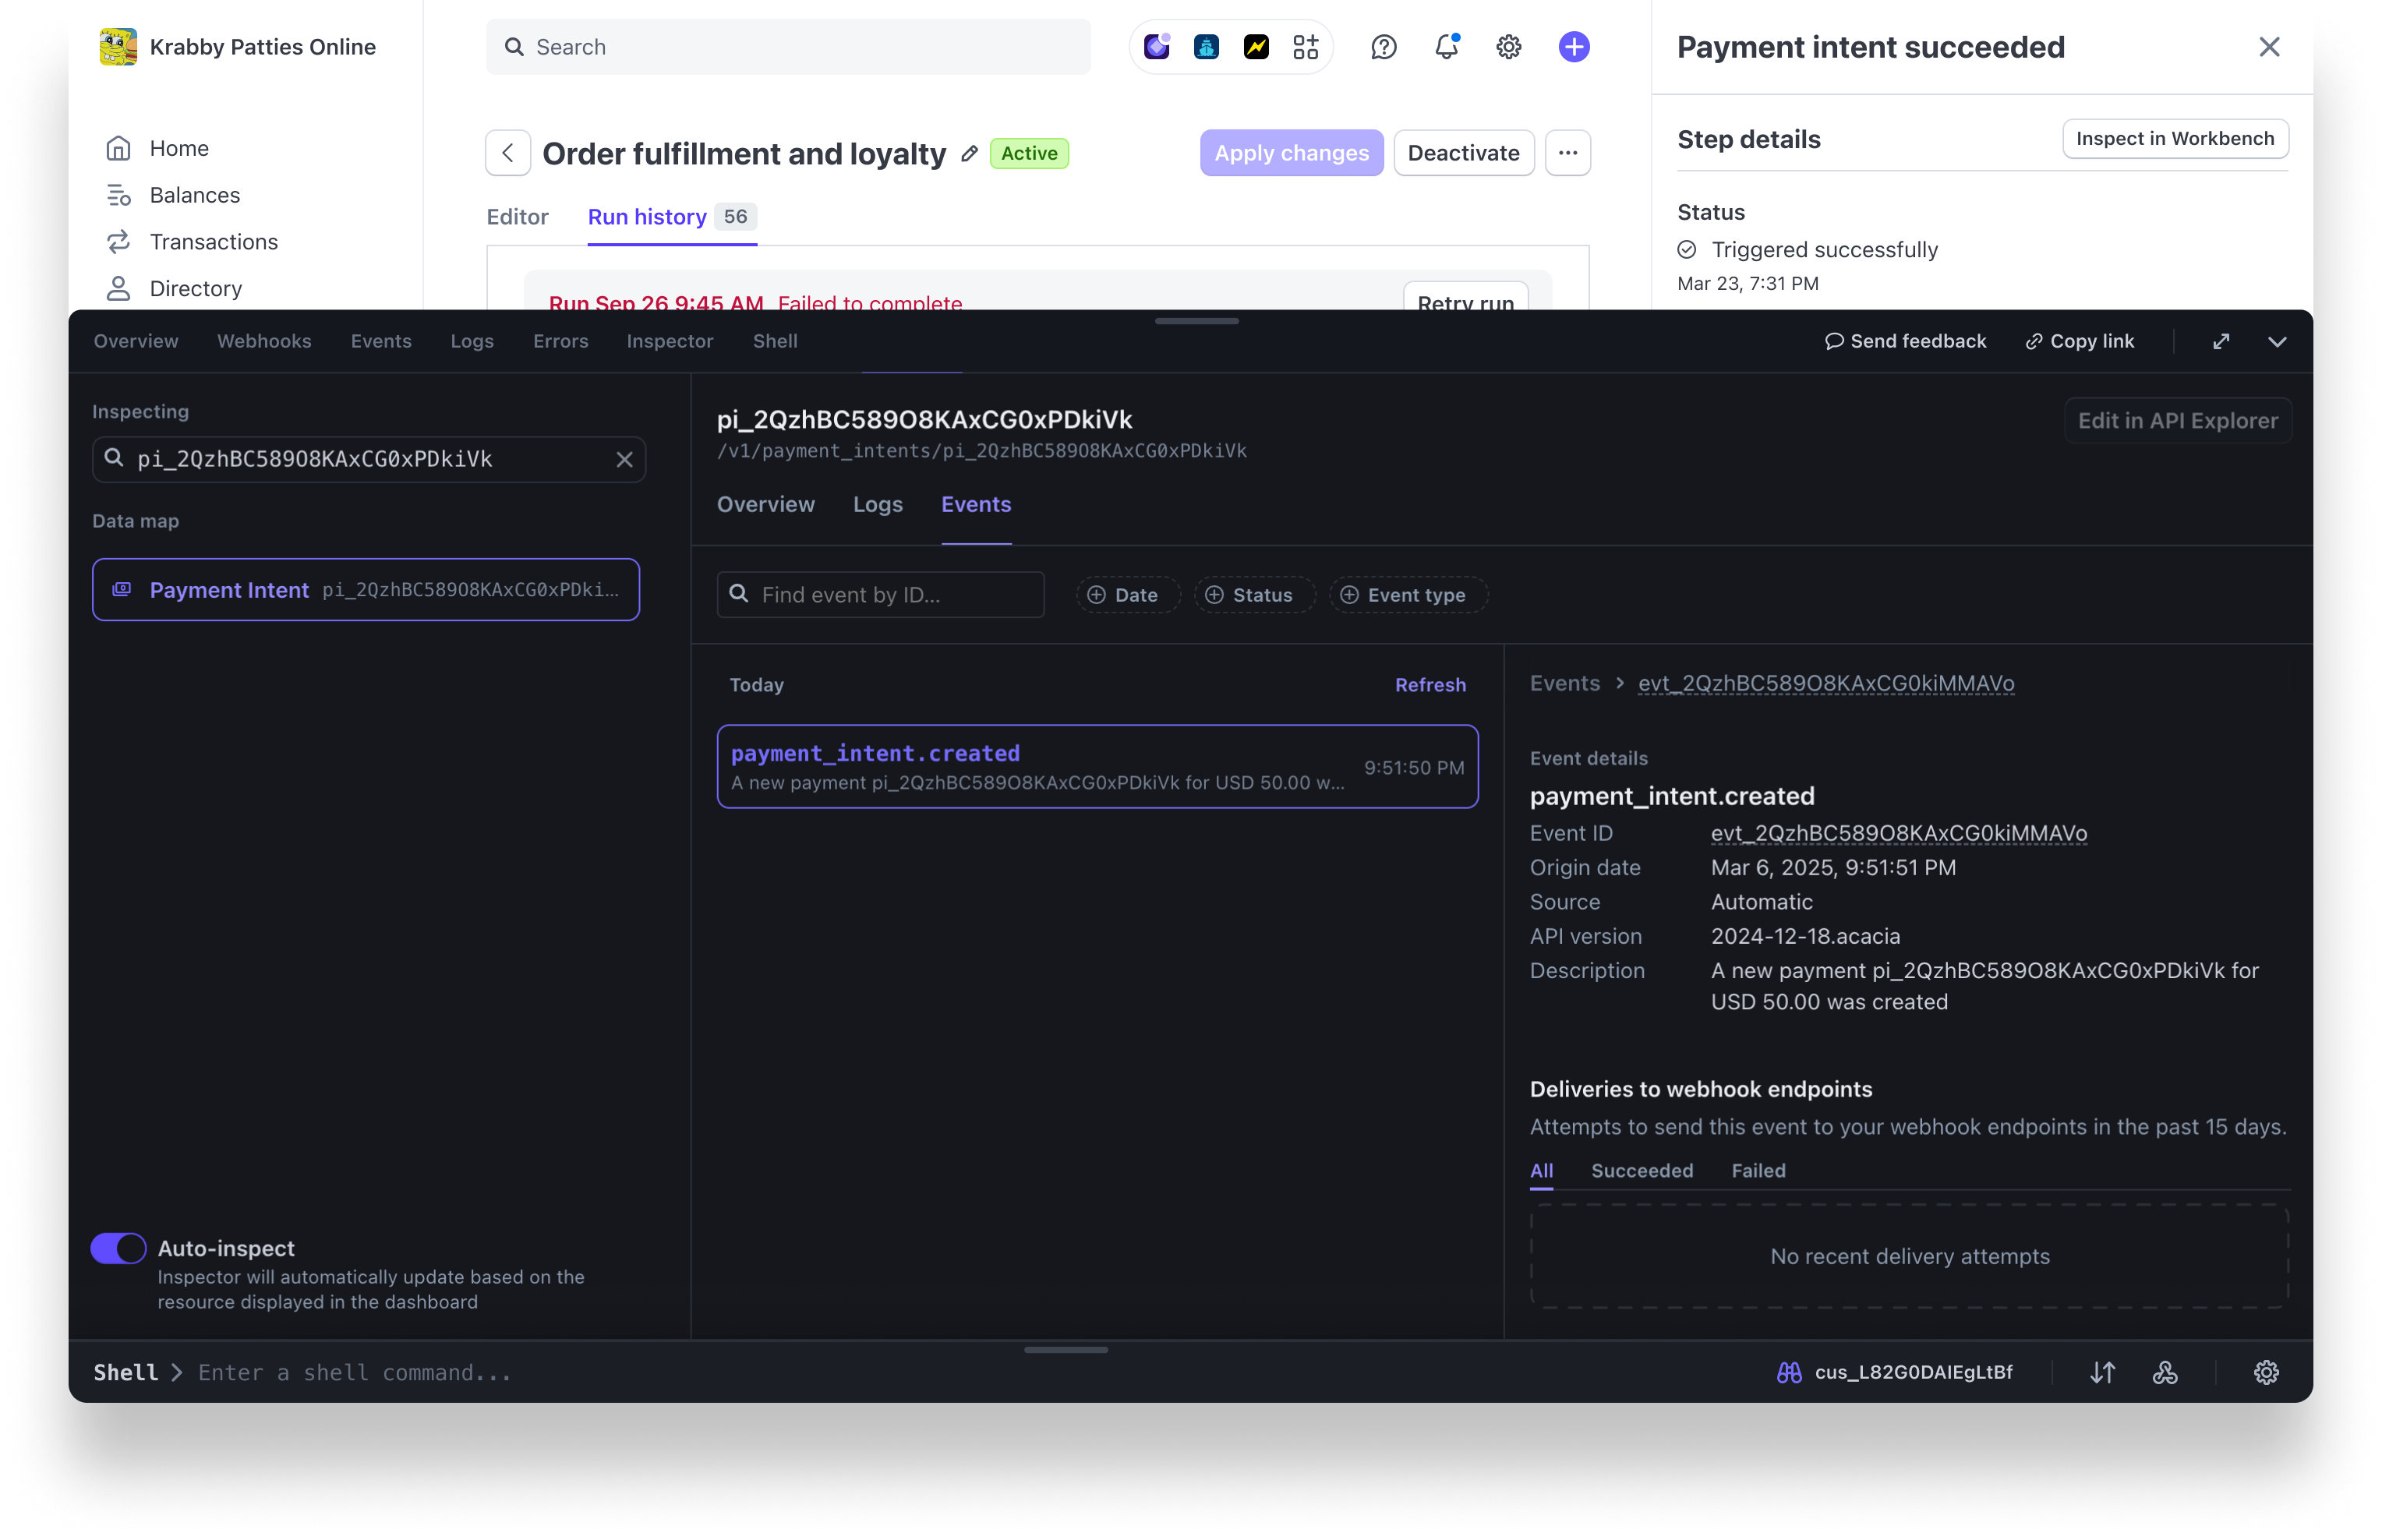
Workbench view using Workflows
Deactivate a workflow
You have the ability to activate, deactivate, or delete workflows. After you deactivate a workflow, Stripe considers it as inactive and it no longer responds to triggers.
You can maintain up to 6 active workflows at a time and have a combined total of 20 workflows, which includes both active and inactive ones. If you have 20 workflows, you can’t create another workflow. If you have 6 active workflows, and want to activate another one, you must first deactivate an already active workflow.
To deactivate a workflow:
- Navigate to Workflows, and select the applicable workflow.
- Click Deactivate. If you want to reactivate the workflow, click Activate.
Delete a workflow
Deleting a workflow is permanent. After deletion, a workflow is unrecoverable. Double-check before deleting any workflow. Consider deactivating instead of deleting if you’re unsure.
To delete a workflow:
- Navigate to Workflows, and select the applicable workflow.
- Next to Deactivate, click the overflow menu () > Delete workflow.
- Click Delete in the modal.
The workflow is now permanently deleted along with its run details.